Trezor.io/start – Your Step-by-Step Guide to Setting Up a Secure Crypto Wallet
Welcome to Trezor.io/start, the official starting point for anyone looking to set up a Trezor hardware wallet. Whether you’re a first-time cryptocurrency user or a seasoned investor, properly setting up a hardware wallet is essential to protecting your digital assets. Unlike traditional banking, cryptocurrencies give you full control over your funds—but that also means you are fully responsible for keeping them safe.
This guide will walk you through everything you need to know to get started with Trezor: what it is, why it matters, how to set it up securely, and best practices for managing your crypto safely. By following these steps, you will gain confidence and peace of mind while managing your digital assets.
Why Hardware Wallets Are Important
Cryptocurrencies are fundamentally different from traditional money because ownership is determined by private keys. Whoever controls your private keys controls your crypto.
Storing crypto on exchanges or online wallets exposes your assets to hacking, phishing, or other attacks. Over the years, many exchanges have been compromised, resulting in permanent loss of users’ funds.
A hardware wallet, like Trezor, stores your private keys offline in a secure device. Even when connected to a computer or smartphone, your keys never leave the device, making them virtually immune to online attacks.
Trezor.io/start ensures you follow the official, secure process from day one, protecting your funds from scams and human error.
What Is a Trezor Hardware Wallet?
Trezor is a small, secure device designed to store the private keys that control your cryptocurrency. It combines advanced cryptography with a user-friendly interface to provide security without sacrificing convenience.
Key features include:
Offline key storage to protect your funds from hackers
PIN protection to prevent unauthorized access
Passphrase support for additional layers of security
Secure transaction signing directly on the device
Support for hundreds of cryptocurrencies across multiple blockchains
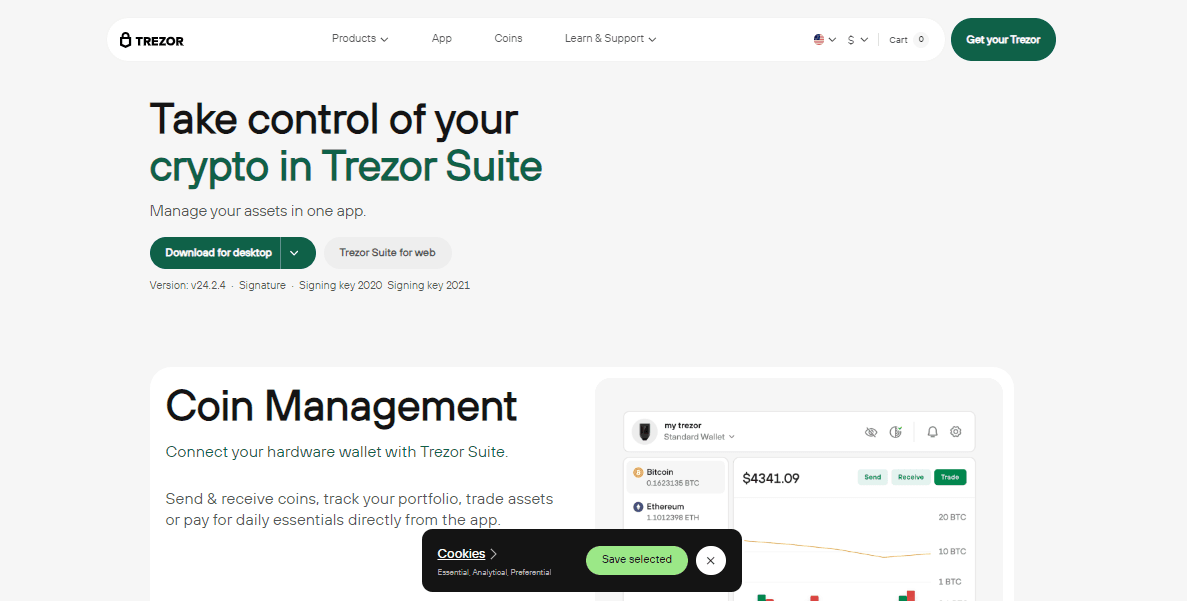
Trezor works together with the Trezor Suite, a desktop and web application that allows you to monitor balances, send and receive crypto, install apps, and manage your portfolio—all while keeping your private keys offline.
Why Start at Trezor.io/start?
Scammers often create fake websites and guides designed to trick users into giving away their recovery phrases. Trezor.io/start is the official starting point, guaranteeing that you:
Download the authentic Trezor Suite software
Follow the correct setup instructions for your device
Learn how to securely create and store your recovery phrase
Avoid phishing scams and counterfeit devices
Using unofficial sources increases the risk of losing your crypto. Starting at Trezor.io/start ensures you follow the secure, official process.
What You’ll Need Before Setup
Before setting up your Trezor wallet, gather the following:
Your Trezor device (sealed and untampered)
A computer or smartphone with a secure internet connection
A private space to safely write down your recovery phrase
Pen and paper for recording your recovery phrase
Preparation is key—security begins with proper setup.
Step 1: Download Trezor Suite
The first step is downloading Trezor Suite, the official application for managing your wallet.
Trezor Suite allows you to:
Initialize and configure your Trezor device
Add cryptocurrency accounts
Send and receive funds securely
Track your portfolio and transaction history
Update your device firmware
Always download Trezor Suite directly from Trezor.io/start to avoid fake software that could compromise your funds.
Step 2: Initialize Your Trezor Device
Once Trezor Suite is installed, connect your device to your computer and follow the instructions to initialize it.
You will choose between:
Create a new wallet
Restore an existing wallet
For first-time users, select Create a new wallet. The device will generate a new recovery phrase, ensuring your private keys are created securely on the device and never online.
Step 3: Set a PIN Code
Next, you’ll create a PIN for your Trezor device.
The PIN prevents unauthorized access if your device is lost or stolen
It is required every time the device is unlocked
You can change it later if needed
Choose a secure PIN and never share it. Trezor will never ask for your PIN.
Step 4: Write Down Your Recovery Phrase
Your Trezor device will display a 24-word recovery phrase one word at a time. This phrase is the only backup of your wallet. Losing it means losing access to your funds permanently.
Best practices for your recovery phrase:
Write it down exactly as shown, in order
Store it offline in a secure location
Do not photograph or store digitally
Never share it with anyone
Anyone with your recovery phrase can access your assets, so treat it like your most valuable secret.
Step 5: Confirm Your Recovery Phrase
To ensure you have written it down correctly, Trezor will ask you to select words in the correct order.
This verification guarantees that your backup is accurate and ready to recover your wallet if needed. This step is essential and should never be skipped.
Step 6: Add Cryptocurrency Accounts
After setup, you can add accounts for the cryptocurrencies you want to manage.
Using Trezor Suite, you can:
Install support for multiple blockchains
Create accounts for Bitcoin, Ethereum, and other coins
Receive funds securely
Send crypto, confirming each transaction on your Trezor device
By confirming transactions on your device, your private keys remain safe, even if your computer is compromised.
Using Trezor Suite
Trezor Suite is intuitive, making it easy to manage your portfolio without sacrificing security. Features include:
Real-time portfolio tracking
Sending and receiving crypto securely
Managing multiple accounts across different blockchains
Connecting safely to supported decentralized applications (DApps)
Even when connected to the internet, your private keys remain offline and protected.
Essential Security Practices
Hardware wallets like Trezor are secure, but user behavior is crucial.
Never enter your recovery phrase on a computer or website
Ignore messages claiming your funds are at risk
Bookmark Trezor.io/start and Trezor Suite
Store your recovery phrase offline in a secure location
Phishing scams often rely on urgency and fear. Staying cautious is your best defense.
Benefits of Using a Trezor Wallet
Maximum security – Private keys remain offline at all times.
User-friendly interface – Easy enough for beginners, powerful enough for experts.
Multi-coin support – Manage hundreds of cryptocurrencies in one device.
Recovery options – Restore your wallet with your 24-word recovery phrase.
DeFi and third-party integration – Interact safely with supported platforms.
Trezor makes owning crypto safe and manageable, giving you peace of mind and control.
Long-Term Crypto Management
Using Trezor and Trezor Suite ensures a secure foundation for long-term cryptocurrency management. Whether holding, trading, or exploring decentralized finance, Trezor keeps your private keys secure while giving you full control.
Owning crypto is about independence and responsibility. Trezor simplifies these responsibilities, allowing you to confidently manage your digital assets.
Begin Your Secure Crypto Journey Today
Trezor.io/start is your official gateway to secure, self-custodied cryptocurrency. By carefully following each step and protecting your recovery phrase, you can safely manage and grow your digital assets.
With Trezor, you’re not just holding crypto—you truly own it. Start your journey into secure digital asset management today with Trezor.io/start.